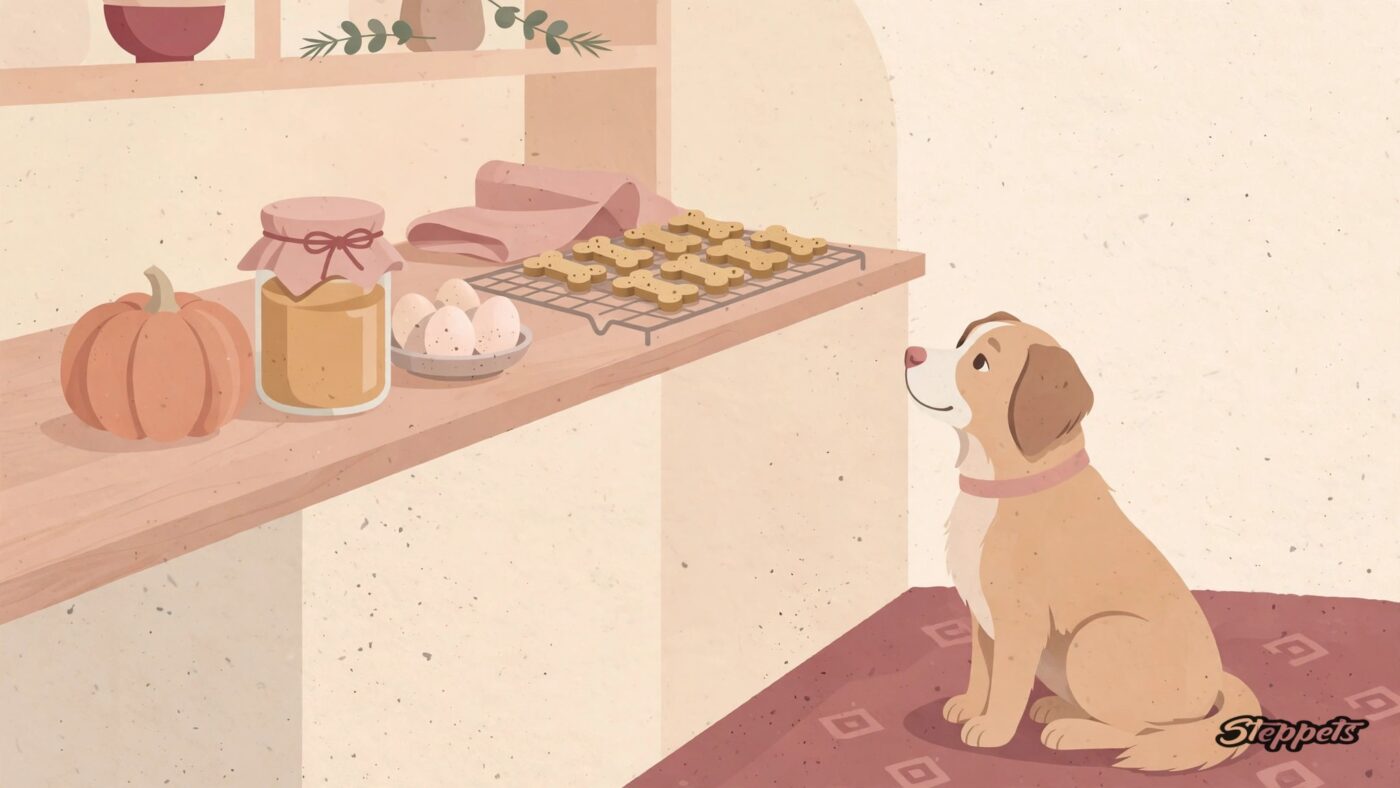
There are two kinds of dog treats in our house: the kind that come in a crinkly bag with an ingredient list you have to squint at, and the kind we bake ourselves. These peanut butter pumpkin dog treats are firmly the second kind. Five ordinary ingredients, one bowl, and a floury counter — and you know exactly what went into every single one, because you put it there.
Pumpkin and peanut butter are a good baking pair for dogs. The pumpkin keeps the dough moist and workable and gives the treats their colour, and the peanut butter makes the whole tray smell like something worth sitting politely for. Our quality control is in-house: Luna, our Basenji — the dog the whole Steppets workshop exists because of — stations herself in the kitchen doorway the moment the oven goes on, and she takes the job seriously. A batch that doesn’t hold her attention doesn’t get repeated. This one gets repeated a lot.
Before you bake: the safety notes that actually matter
Homemade is only better if it’s safe, and two label-reading habits matter more than everything else in this recipe combined.
Peanut butter must be xylitol-free — check every time. Xylitol is a sweetener added to some peanut butters, especially “natural” and sugar-free ones, and it is seriously toxic to dogs: even a small amount can cause a dangerous drop in blood sugar and liver damage. On labels it may also appear under another name — birch sugar — so read the whole ingredient list, not just the front of the jar. Choose a peanut butter whose label lists peanuts, and maybe salt, and nothing else. Re-check even a familiar brand each time you buy, because formulations change. If a jar lists xylitol or birch sugar anywhere, it doesn’t go near your dog. Full stop.
Pumpkin purée is not pumpkin pie filling. You want plain pumpkin purée — the kind whose ingredient list is just “pumpkin.” Pie filling comes pre-sweetened and spiced, and some of those spices, nutmeg in particular, are not dog-safe. Fresh pumpkin that you’ve cooked and mashed yourself works just as well.
A few more ground rules. Treats are extras: the standard guidance is that treats should make up no more than about 10% of your dog’s daily calories, and these are no exception — one or two a day for a medium dog, broken smaller for little ones. Introduce them gradually: a couple the first day, then watch how they land, because any new food can surprise a stomach. And if your dog has allergies, a weight problem, pancreatitis, or any condition that comes with a managed diet, check with your vet before adding homemade treats to the routine — peanut butter is rich, and your vet knows your dog’s file. Dogs who are sensitive to wheat can have this batch made with oat flour instead of whole wheat, swapped cup for cup — it’s in the ingredients below.
Ingredients
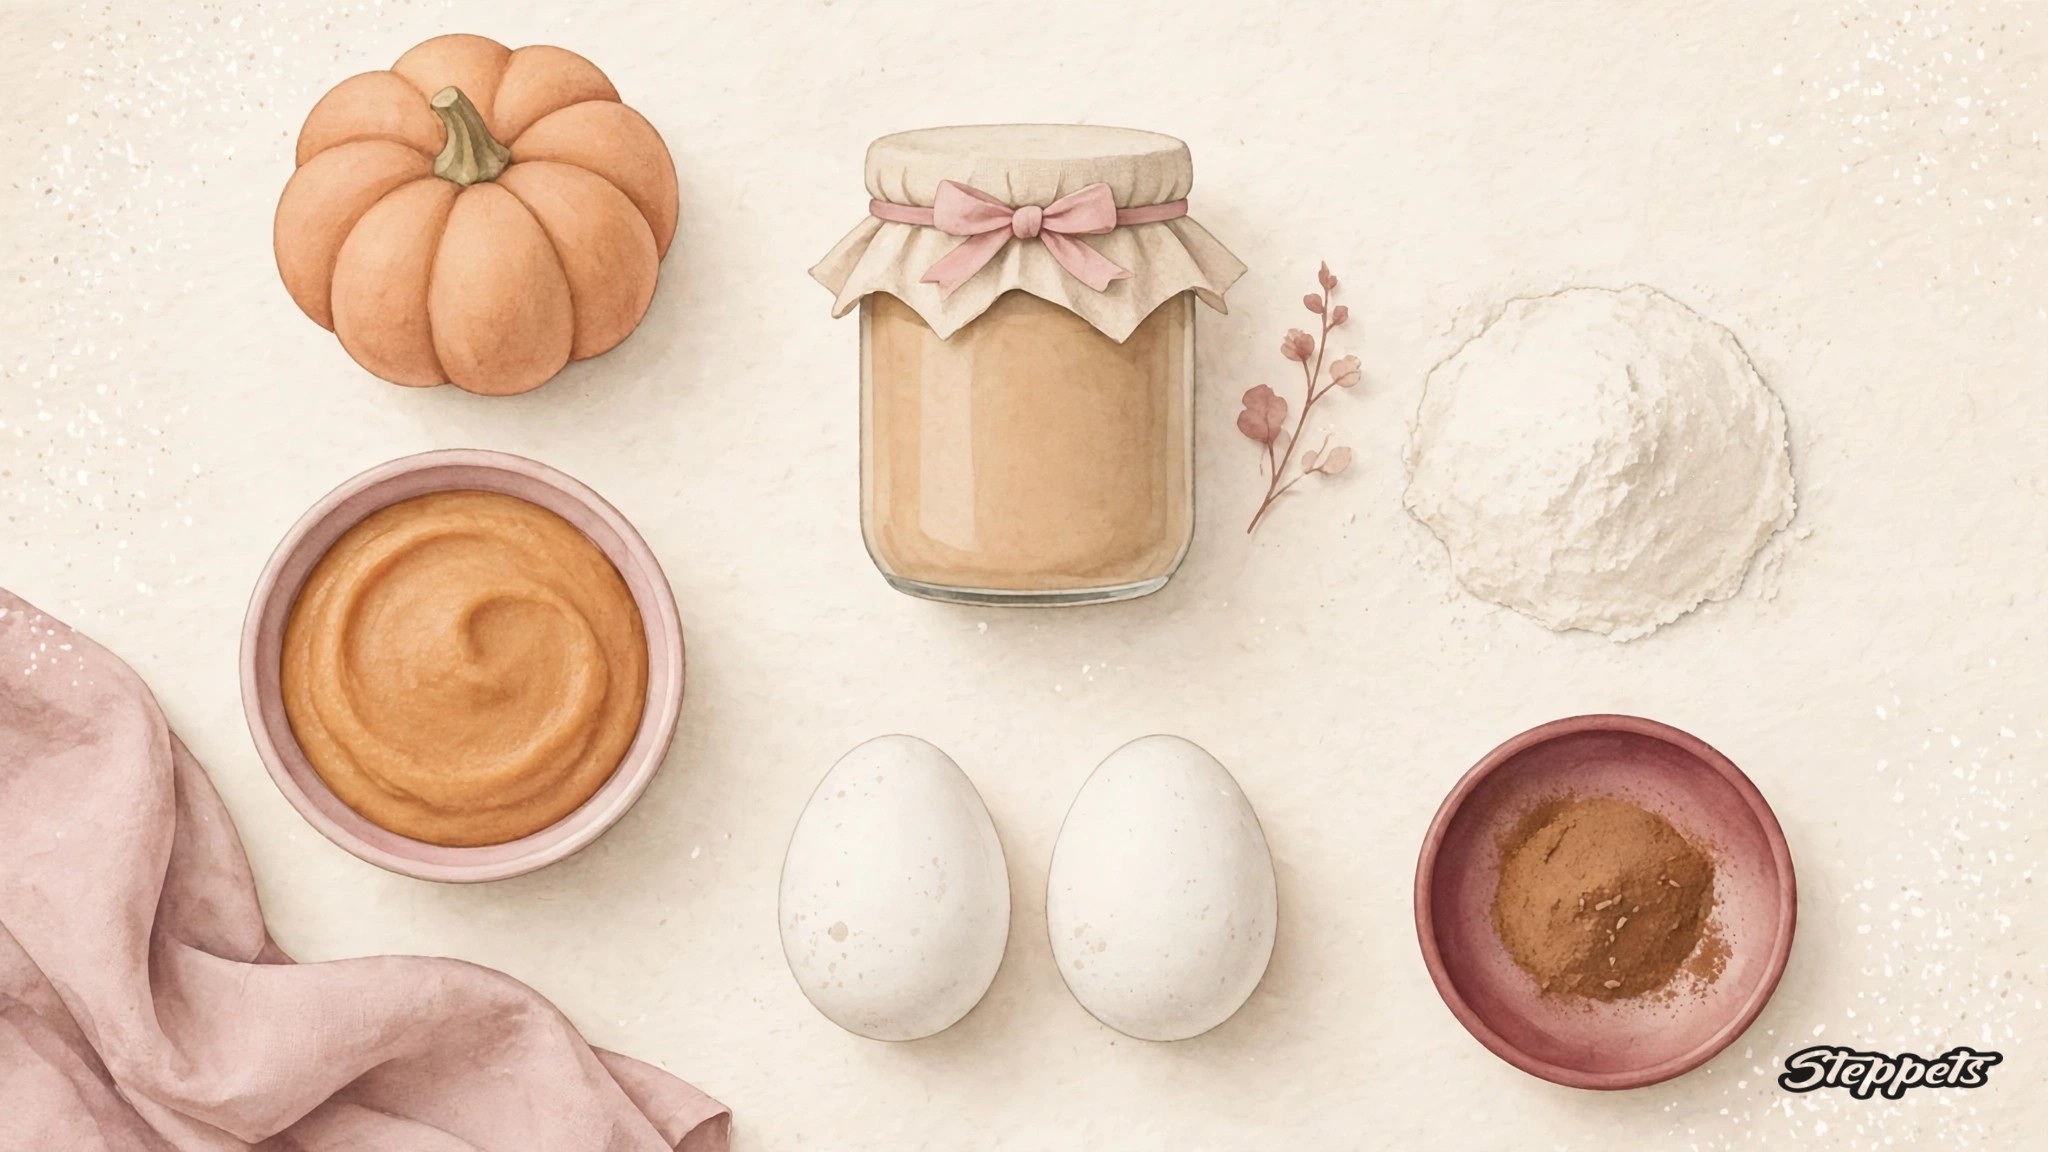
- 2½ cups (about 300 g) whole wheat flour, plus a little extra for rolling — or oat flour for wheat-sensitive dogs
- 1 cup plain pumpkin purée (not pumpkin pie filling)
- ½ cup peanut butter — xylitol-free, label checked
- 2 eggs
- ½ tsp cinnamon (optional)
- Water, a tablespoon at a time, if the dough needs it
That’s the whole list. The eggs bind, the flour gives structure, and everything else is flavour and colour. No sugar, no salt needed beyond what’s already in the peanut butter, and nothing you couldn’t eat yourself — though we make no promises about the appeal.
Method
1. Heat the oven to 175°C / 350°F and line a baking tray with parchment.
2. Mix the wet ingredients. In a large bowl, stir the pumpkin purée, peanut butter, and eggs together until smooth and even.
3. Add the dry. Tip in the flour and cinnamon and stir until a stiff dough forms, then work it with your hands for the last bit. Pumpkin varies — some purées are wetter than others — so judge the dough rather than the clock: if it’s crumbly, add water a tablespoon at a time; if it’s sticky, add flour a spoonful at a time. You want a firm, rollable dough, roughly play-dough consistency.
4. Roll and cut. Roll the dough out to about 6 mm (¼ inch) thick. Rolling between two sheets of parchment keeps it from sticking to the pin and saves flouring the whole counter. Cut with a bone-shaped cutter if you have one, or simply slice the sheet into squares or fingers with a knife — dogs, in our experience, do not grade presentation. Gather the scraps, re-roll, and keep cutting until it’s all used.
5. Bake for 25–30 minutes, until the treats are firm and dry to the touch and lightly golden at the edges. For a crunchier, longer-keeping treat, leave them in an extra 10–15 minutes, or turn the oven off and let them sit inside as it cools — dryness is what keeps a homemade treat fresh.
6. Cool completely on a wire rack before storing or serving. They firm up further as they cool. The cooling rack will be supervised throughout; that is unavoidable. Let them cool anyway.
Storage
These have no preservatives, so store them like the fresh food they are. In an airtight container, well-baked crunchy treats keep about one week on the counter, two weeks in the fridge, and up to three months in the freezer. When in doubt, refrigerate — and if a batch ever smells off or shows any mould, it goes in the bin, no second chances. Freezing them in small bags works well: pull out a few days’ worth at a time and let them thaw on the counter before serving.
Tips from our kitchen
- Sticky dough? Chill it for 20 minutes. It rolls out noticeably better cold, and the cut shapes hold their edges.
- Stamp a paw print before baking: press the tines of a fork lightly into each treat, or use your thumb. It marks them as homemade — and the thin spot snaps cleanly in half for smaller dogs.
- Dip the cutter in flour between cuts, or give it a quick rinse and shake. This dough likes to cling.
- Size them to the dog. Cut small squares for little dogs or for training; save the big bones for dogs who take a treat gently, one at a time.
- They make good gifts. A dozen in a paper bag tied with string, with the ingredient list and the bake date written on the bag, is a genuinely welcome thing to hand a dog person — and the ingredient list matters, because the receiving dog’s owner should be able to check it the same way you checked the peanut butter.
A warm kitchen, a cold evening
There’s a particular pleasure in baking dog treats while winter does its worst outside the window — the oven warming the kitchen, a dog asleep within smelling distance, and nowhere anyone has to be. On the evenings when the walk is the short version — the ones where the answer to how cold is too cold for a dog turned out to be “colder than this” — there’s time to put a batch in. Your dog gets a shorter walk but a warmer house and something good in it. In our kitchen, at least, that trade has never once been voted down.